Home » Product CGI Preparation for Better Visuals
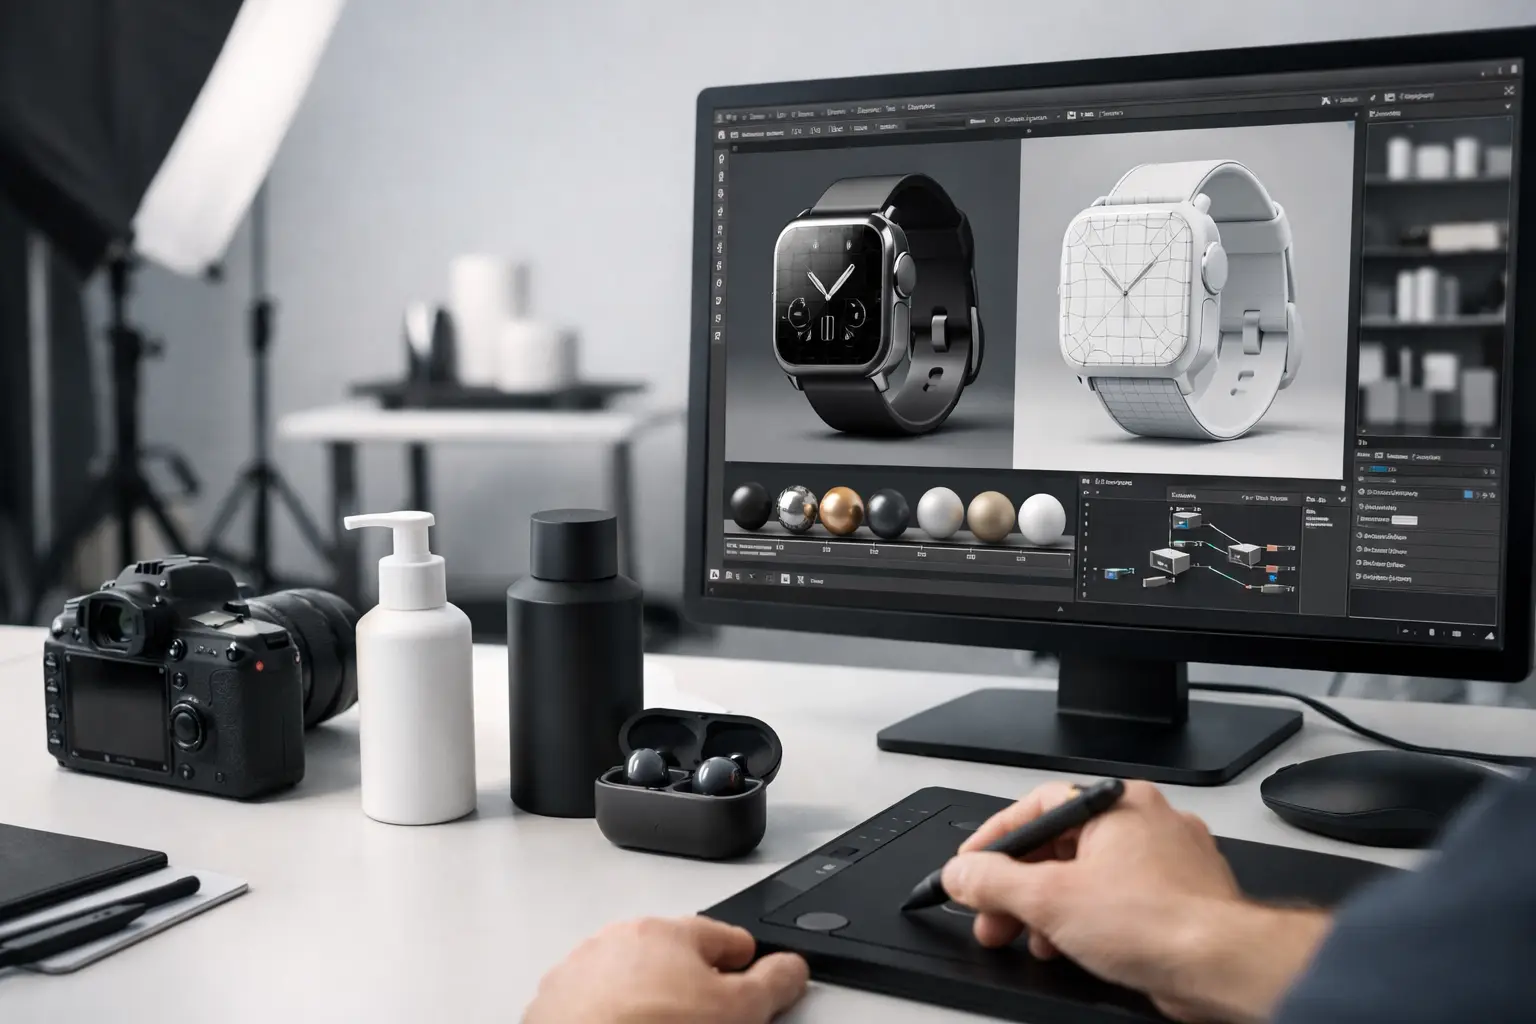
Product CGI Preparation for Better Visuals
A product render can look technically impressive yet still fail to support a sale. The usual cause is not the rendering itself. It is unclear product CGI preparation: missing product details, unresolved finishes, late packaging changes or no agreed view of where the final imagery will appear. A well-prepared brief gives the creative team the information needed to produce visuals that are accurate, on-brand and ready to work across a campaign.
For consumer brands, manufacturers and marketing teams, preparation is where visual quality and commercial value meet. It reduces avoidable revision rounds, protects deadlines and makes sure the finished CGI answers a genuine marketing requirement rather than simply creating an attractive image.
Why preparation affects the final image
Product CGI gives brands the freedom to launch imagery before photography is possible, show multiple colours or configurations, and place a product in settings that would be impractical to build or photograph. That freedom also means decisions must be made earlier. CGI cannot resolve a product detail that has not yet been designed, approved or supplied.
A loose brief often creates a familiar pattern: an initial render looks close, then the product dimensions change, a material is judged to be too glossy, the label artwork is replaced and a new crop is needed for social media. Each amendment may be reasonable on its own, but together they can add cost and pressure to a launch schedule.
The strongest projects establish what must be exact, what can be interpreted creatively and what is still subject to change. This is particularly valuable for products in development. A prototype may not be final, but the team can still identify the elements that are fixed, such as proportions, brand marks, key materials and feature placement, while allowing for controlled updates later.
Product CGI preparation starts with a commercial brief
Before discussing lighting or camera angles, establish the job the imagery needs to do. A hero image for a product launch needs a different approach from a technical visual for a sales presentation or a packshot for an e-commerce listing.
Consider the intended audience, channel and action. Is the product being positioned as premium, practical, innovative or family-focused? Will the image sit in a brochure, on a website banner, at point of sale or within paid social advertising? These choices influence the composition, level of detail, background treatment and file sizes required.
It also helps to agree how success will be judged. For some brands, absolute product accuracy is the priority. For others, the priority may be creating a stronger lifestyle proposition or clearly demonstrating a feature. Most projects require both, but the balance matters. A clean studio render can be ideal for comparison and product pages, while a styled scene may be more effective for campaign use.
Define the scope before modelling begins
A practical scope sets out the number of products, variants, views and final outputs. It should cover whether the work requires a single hero render, a full set of e-commerce angles, detail close-ups, exploded views, animation or lifestyle imagery. It should also confirm where copy, logos, icons and packaging artwork will be supplied.
This is the point to flag future use too. If a campaign will need portrait and landscape crops, it is usually more efficient to plan both from the outset. The same applies when a product range is likely to expand. Building a considered CGI asset can support further colourways, accessories and seasonal campaigns, provided the original project has been structured with that use in mind.
Build an accurate product asset pack
The quality of reference material has a direct effect on the accuracy and speed of production. CAD files are useful where available, but they are not always complete or suitable for visualisation without further work. Product CGI artists may also need engineering drawings, dimensions, prototype photographs and close-up reference images to understand how parts connect, where seams sit and how materials behave.
For physical products, supply photographs from several angles in consistent lighting. Detail shots are particularly helpful for controls, fixings, stitching, vents, embossed marks, joins and any area where the product has depth or texture. A front-facing photograph alone rarely provides enough information to model the object confidently.
Treat materials as design decisions
Material references deserve the same attention as geometry. A black surface might be painted metal, powder-coated steel, matt plastic, polished plastic, leather or glass. Each catches light differently, and those differences are often what make a CGI product feel convincing.
Where possible, provide a physical sample, approved colour value or clear reference photography alongside a description of the intended finish. State whether a surface should be matt, satin, brushed, textured, translucent or reflective. If an item includes printed graphics or labels, provide final artwork at suitable resolution and make clear how it should wrap around edges, corners or curved surfaces.
Packaging should be treated as part of the product rather than an afterthought. Dielines, cutter guides, artwork files and finish specifications help ensure that boxes, sleeves, foils and labels hold up under close inspection. If packaging is still in development, identify this early so imagery can be planned around the approved elements.
Plan the visual direction before rendering
Reference imagery is useful when it explains a decision, not when it simply offers a collection of styles. Select examples that show the desired camera height, composition, lighting mood, setting and level of realism. It is equally helpful to explain what should be avoided, particularly if a brand has an established visual identity.
A product intended for a clean, design-led campaign may need restrained lighting, generous negative space and precise shadows. A product aimed at an outdoor or lifestyle market may benefit from a more contextual scene, but the environment must support rather than compete with the item. Highly detailed surroundings can be visually engaging, yet they may make product messaging or campaign copy harder to read.
Agree the camera views before final rendering. Front, side and three-quarter angles all communicate different things. A three-quarter hero view can show form and depth, while a close-up may be needed to prove craftsmanship or highlight a differentiating feature. If text will be added later by a marketing team, allow sufficient clear space around the product rather than trying to solve the layout after the image has been completed.
Keep approvals focused and accountable
CGI projects move more efficiently when feedback is consolidated. One nominated decision-maker, or one agreed set of comments from the client team, prevents contradictory requests and protects the original brief.
The review process should follow a sensible order. First approve the model and proportions, then materials and colours, then camera and composition, followed by lighting, styling and final artwork. Changing a product shape after final lighting and scene work has been completed is possible, but it is rarely the most efficient route.
Feedback should be specific and visual where possible. Rather than asking for a product to look ‘more premium’, explain whether the issue is the lighting, material finish, camera angle, setting or amount of visible branding. Clear feedback gives the CGI team something practical to act on and helps maintain momentum towards final delivery.
Think beyond the first campaign
A well-built CGI asset is not limited to one approved image. It can form the basis for a coordinated suite of campaign material, including brochures, presentation graphics, packaging visuals, point of sale displays and digital advertising. This is where an integrated creative approach becomes especially valuable: the product remains visually consistent while its message adapts to different formats.
That does not mean every project needs every possible output. A focused launch may only require a small set of highly considered renders. The key is to identify the formats that will genuinely support sales and marketing activity, then prepare the imagery to suit them from the beginning.
At TDR Creative, we see the best results when product CGI preparation is treated as part of the marketing process, not an administrative step before it. Give the product, the brand and the intended audience equal attention at briefing stage, and the finished visuals will have a far stronger foundation for earning attention and supporting commercial decisions.
